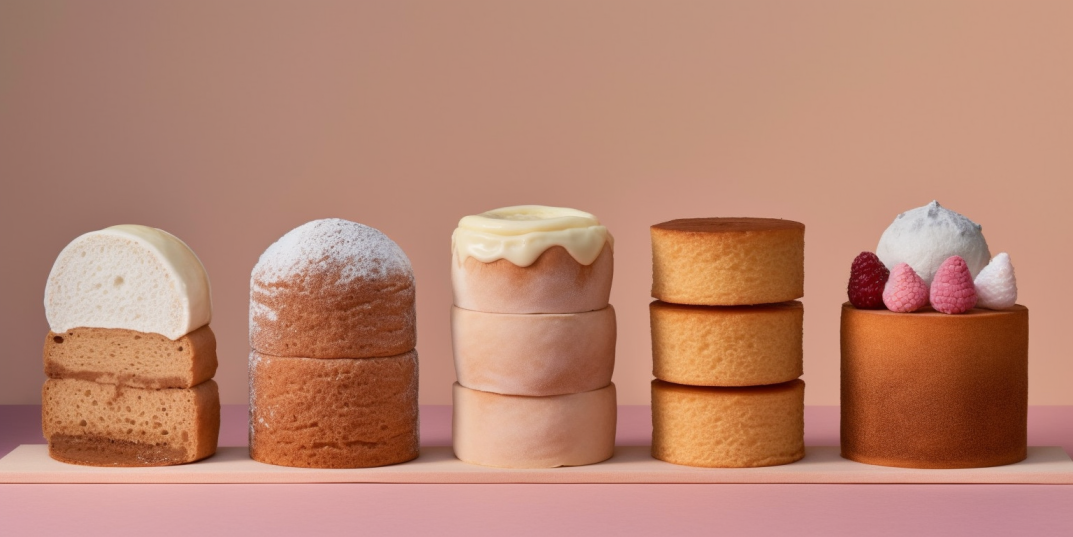
Mastering the Art of Baking: How to Make a Cake Less Dense
A perfectly baked cake is a delight for all, but sometimes, cakes can turn out denser than desired. A dense cake can be disappointing, as it lacks the light and fluffy texture we often associate with a delicious treat. However, fear not! In this article, we will explore various tips and techniques to help you make your cakes less dense. Whether you’re a seasoned baker or just starting out, these simple yet effective strategies will elevate your baking game and ensure your cakes turn out light and airy.
Choosing the Right Ingredients
When it comes to baking a cake, selecting the right ingredients is essential for achieving the perfect texture, flavor, and overall success of your creation. Here are some key considerations for choosing the right ingredients:
| Ingredient | Description |
|---|---|
| Flour | Use cake flour instead of all-purpose flour.Cake flour has a lower protein content (around 7-9%) compared to all-purpose flour (10-12%).Lower protein content results in a lighter, more tender texture in the cake.Cake flour is finely milled, providing a finer crumb and a softer mouthfeel.It is readily available in most grocery stores and can be easily substituted in recipes that call for all-purpose flour. |
| Leavening Agents | Check the expiration dates of baking powder and baking soda before using them.Fresh leavening agents are crucial for proper rise and achieving a lighter cake.Expired baking powder or baking soda may not produce the desired results and can lead to a dense or flat cake.It’s best to replace leavening agents if they have passed their expiration date. |
| Fats | Fats add flavor and moisture to the cake.Butter is a popular choice due to its rich flavor.Using a combination of butter and oil provides both flavor and moisture.Butter adds a distinct taste and richness to the cake.Oil helps keep the cake moist and tender.Experiment with different ratios of butter and oil to find the perfect balance based on your preference. |
In addition to the above information, here’s a bullet list highlighting the key points:
- Choose cake flour over all-purpose flour for a lighter texture;
- Check the expiration dates of baking powder and baking soda for proper rise;
- Use a combination of butter and oil to add flavor and maintain moisture in the cake.
Proper Mixing Techniques
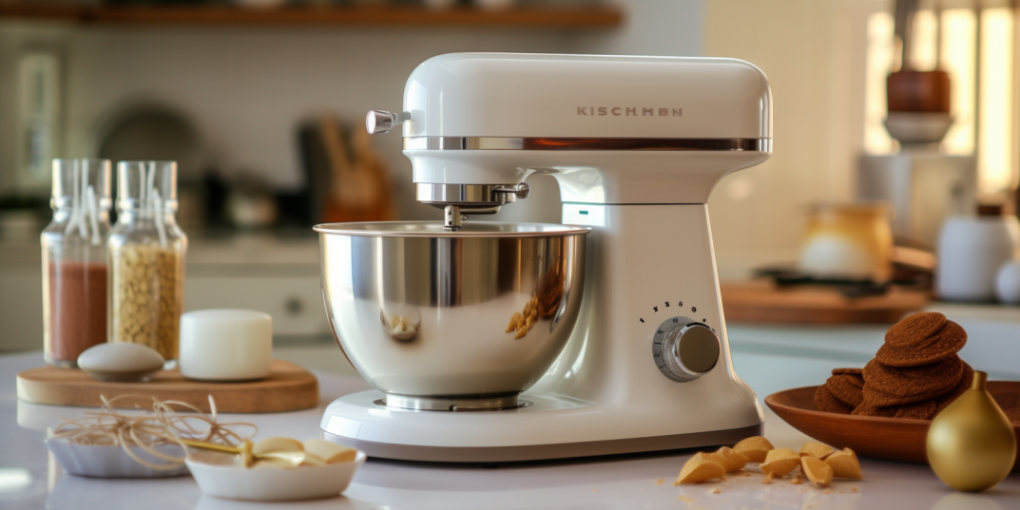
When it comes to baking a cake, mastering the proper mixing techniques is crucial to achieving the desired texture and structure. Here are some important techniques to keep in mind:
Creaming Method
The creaming method is commonly used in cake recipes and involves creaming together butter and sugar. This technique helps incorporate air into the batter, resulting in a lighter and fluffier texture. Here’s how to apply the creaming method:
- Start with softened butter at room temperature. Using a stand mixer or hand mixer, beat the butter on medium speed until creamy;
- Gradually add sugar to the butter while continuing to beat. Beat the mixture on medium-high speed until it becomes light and fluffy. This process usually takes 3-5 minutes;
- The creamed mixture should have a pale color and a smooth texture. It’s now ready for the next steps in the recipe.
Overmixing
While proper mixing is important, it’s equally crucial to avoid overmixing the batter, especially once the dry ingredients are added. Overmixing can develop the gluten in the batter, resulting in a dense and tough cake. Here are some tips to prevent overmixing:
- Once the dry ingredients (such as flour mixture) are added to the batter, mix only until they are just combined. Avoid excessive mixing beyond this point;
- Use a spatula or a wooden spoon to gently fold the dry ingredients into the wet ingredients. Incorporate them with light, swift motions to maintain airiness in the batter;
- It’s normal to see a few streaks of flour in the batter. Overmixing to eliminate these streaks can lead to an overworked batter and a heavy cake.
In addition to the table, here’s a bullet list summarizing the key points:
- Cream butter and sugar together until light and fluffy to incorporate air into the batter;
- Avoid overmixing the batter once the dry ingredients are added;
- Overmixing can develop gluten, leading to a dense cake;
- Mix until just combined to maintain a tender texture.
Incorporating Air into the Batter
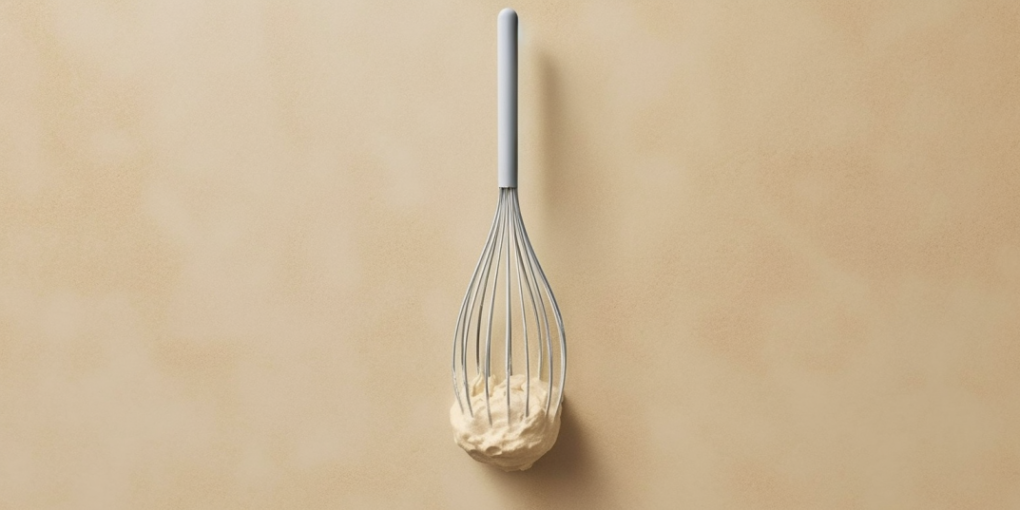
To achieve a light and fluffy cake, it’s important to incorporate air into the batter during the mixing process. Here are some techniques to help you achieve this:
Whisking
Whisking the eggs before adding them to the batter can help aerate them, resulting in a lighter cake. Here’s how to incorporate air through whisking:
- Crack the eggs into a mixing bowl and use a wire whisk or an electric mixer with a whisk attachment;
- Whisk the eggs vigorously in a circular motion or at a medium-high speed. This action helps to incorporate air into the eggs, making them fluffy and light;
- Continue whisking until the eggs increase in volume, become pale yellow in color, and form ribbons when the whisk is lifted.
Folding Technique
When adding dry ingredients to wet ingredients, it’s important to use a gentle folding motion. This technique minimizes gluten development and preserves air bubbles in the batter. Here’s how to fold the ingredients properly:
- Start by combining the wet ingredients, such as the creamed butter and sugar mixture, in a large bowl;
- In a separate bowl, sift the dry ingredients, such as flour, baking powder, and salt, together to ensure even distribution and to remove any lumps;
- Gradually add the dry ingredients to the wet ingredients in small batches;
- Using a spatula or a large spoon, gently fold the dry ingredients into the wet ingredients using a sweeping motion. Scrape from the bottom of the bowl and fold over the top, rotating the bowl as you go;
- Continue folding until the dry ingredients are just incorporated into the batter. Be careful not to overmix, as it can lead to a dense cake;
- It’s normal to see a few streaks of flour in the batter. These will be incorporated during baking.
In addition to the table, here’s a bullet list summarizing the key points:
- Whisk the eggs vigorously before adding them to the batter to aerate them and create a lighter cake;
- Use a gentle folding motion when combining the dry ingredients with the wet ingredients to minimize gluten development and preserve the air bubbles;
- Be careful not to overmix during the folding process to avoid a dense cake.
Adjusting Liquid Content
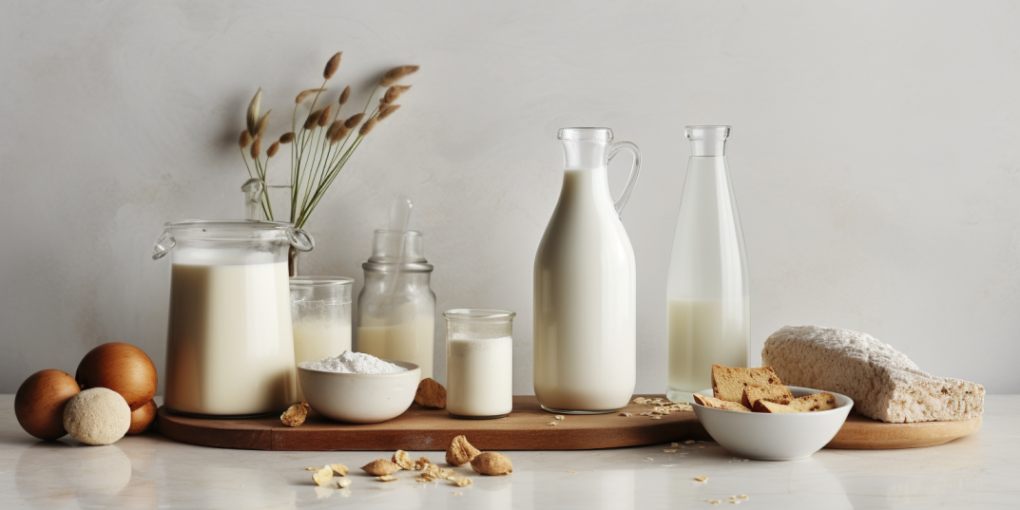
| Topic | Consideration |
|---|---|
| Milk or Buttermilk | Adding milk or buttermilk to the batter helps create a lighter texture. These liquids add moisture and contribute to a tender crumb. |
| Water | In some cases, substituting a portion of the liquid with water can help reduce the density of the cake. |
| Size | Ensure you are using the recommended pan size for the recipe. Using a smaller pan can result in a denser cake due to the longer baking time required. |
| Material | Opt for light-colored aluminum or non-stick pans. These materials promote even heat distribution and prevent excessive browning. |
Oven Temperature and Baking Time
Achieving the perfect bake for your cake requires proper oven temperature and baking time. Here are some important considerations:
Preheating
Always preheat your oven to the specified temperature mentioned in the recipe. Preheating is essential as it ensures that the oven reaches the desired temperature before you place the cake inside. Here’s why preheating is important:
- Proper heat distribution: Preheating allows the oven to distribute heat evenly throughout the baking process, ensuring that the cake bakes uniformly;
- Consistent results: Starting with a preheated oven ensures that the cake follows the intended baking time and temperature, resulting in a more reliable outcome.
Baking Time
To achieve the perfect texture and avoid underbaking or overbaking, it’s crucial to follow the recommended baking time mentioned in the recipe. Additionally, using a toothpick or cake tester can help determine the cake’s doneness. Here’s how to ensure the right baking time:
- Follow the recipe: Pay close attention to the specified baking time mentioned in the recipe. This time is typically an estimate based on the oven temperature and the size of the cake;
- Perform a doneness test: Towards the end of the recommended baking time, insert a toothpick or cake tester into the center of the cake. If it comes out clean or with a few crumbs clinging to it, the cake is likely done. If there is raw batter on the toothpick, the cake needs more time to bake;
- Adjust if necessary: If the cake is not fully baked after the recommended time, continue baking for a few more minutes and retest. Conversely, if the cake is browning too quickly, you can tent it with foil to prevent over-browning while it finishes baking.
In addition to the table, here’s a bullet list summarizing the key points:
- Always preheat your oven to the specified temperature to ensure proper heat distribution;
- Follow the recommended baking time mentioned in the recipe;
- Use a toothpick or cake tester to check for doneness.
Making Adjustments for High Altitude Baking
At higher altitudes, it is recommended to make the following adjustments to your baking recipes:
- Decrease leavening agents: Reduce the amount of baking powder and baking soda in the recipe. The lower air pressure at higher altitudes causes baked goods to rise more quickly, and reducing leavening agents helps prevent excessive rising and potential collapse;
- Decrease sugar: Reduce the amount of sugar in the recipe. High altitudes can cause baked goods to dry out faster, and reducing sugar helps retain moisture and prevent excessive dryness;
- Decrease fat: Reduce the amount of fat, such as butter or oil, in the recipe. The lower air pressure can make baked goods more prone to spreading, and reducing fat helps mitigate this issue;
- Increase liquid: Add additional liquid to the recipe. High altitudes can cause baked goods to dry out more quickly, and increasing the liquid helps maintain the desired moisture level;
- Increase baking time: Due to the lower air pressure, baked goods take longer to cook at high altitudes. Increase the baking time accordingly, keeping a close eye on the texture and doneness of the cake as it bakes.
In addition to the table, here’s a bullet list summarizing the key points:
- Decrease the amount of leavening agents, sugar, and fat;
- Increase the liquid content;
- Increase the baking time.
Conclusion
By implementing these tips and techniques, you can make your cakes less dense and achieve the light and airy texture you desire. Remember to pay attention to ingredient choices, mixing methods, incorporating air into the batter, adjusting liquid content, using the right baking pan, and baking at the correct temperature. With practice and experimentation, you’ll soon master the art of creating perfectly fluffy and delicious cakes that will impress your friends and family.
Remember, the key to achieving a less dense cake lies in the right balance of ingredients, proper mixing techniques, and attentive baking. With patience and practice, you’ll be able to create delectable, light, and fluffy cakes that will be enjoyed by everyone.